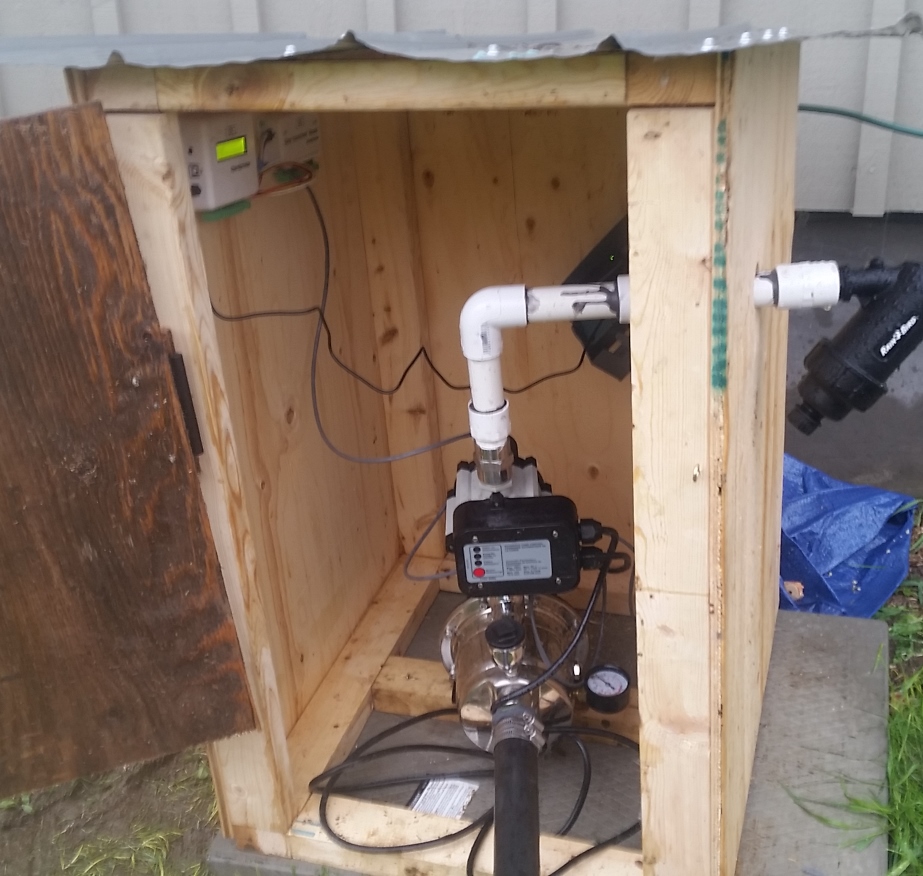
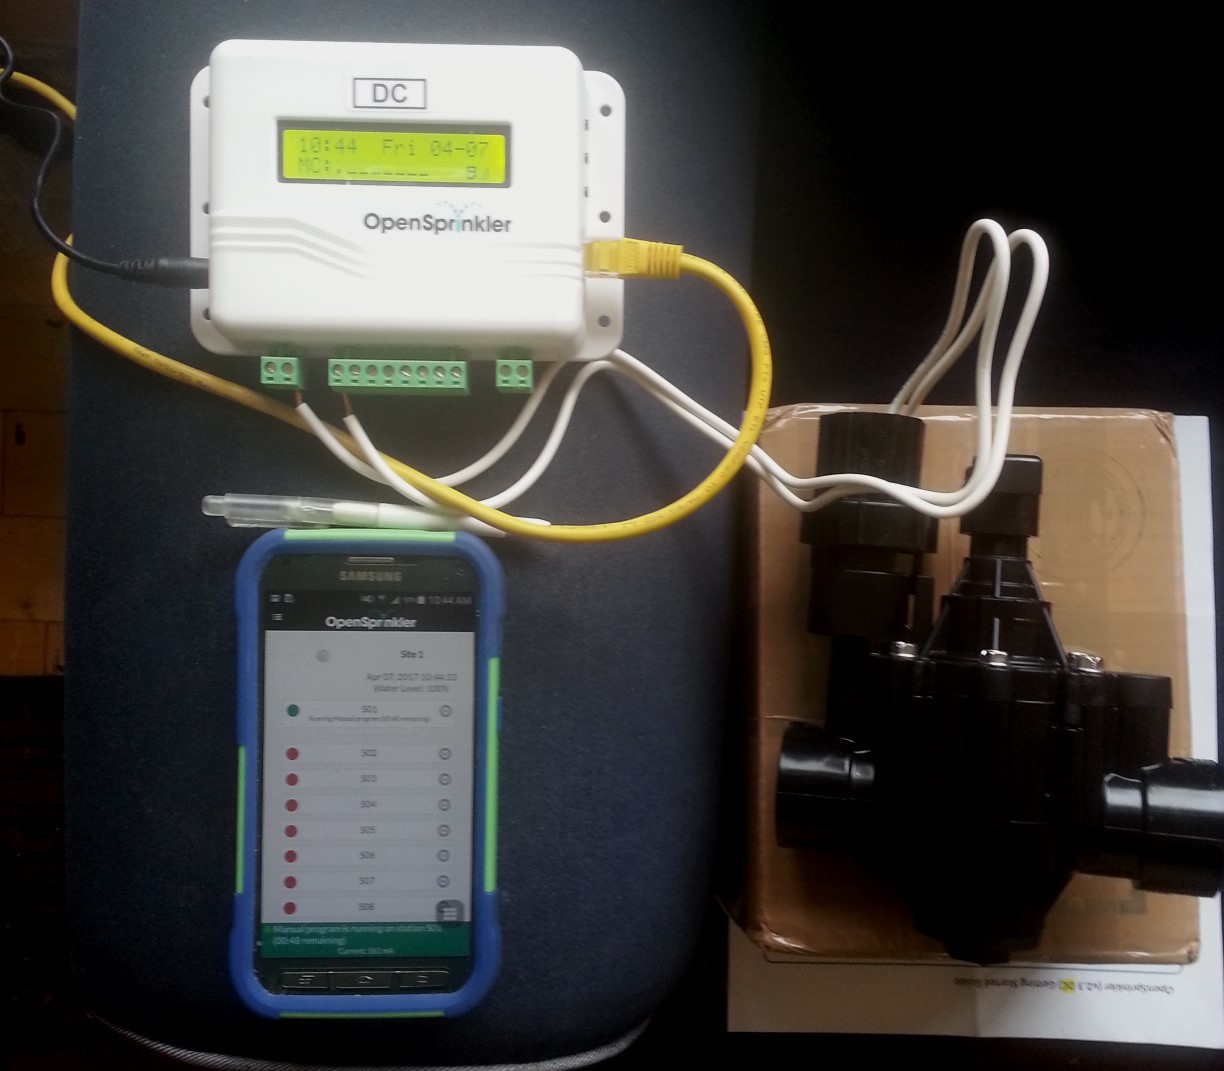
And most exciting, here's a bench test (well, couch test) of the controller, hooked up to one of the valves. The controller (OpenSprinkler) is an open source, network connected sprinkler controller. Here I've got it hooked up to our network and plugged into one of the valves (on the right). I haven't set up any programs yet, but on the bottom left you can see I've used my phone (connected over wifi) to manually turn the switch on. I'm really looking forward to using this feature. Having remote access to the controller on my phone will let me walk around in the field and monitor, reprogram or override the system if I need.
The network connection also lets the controller make weather adjustments (i.e. to run longer if it's hot, less if the humidity is high, and not at all if it's raining), which I got set up fairly easily by following these articles about Weather Underground integration from the OpenSprinkler knowledge base.
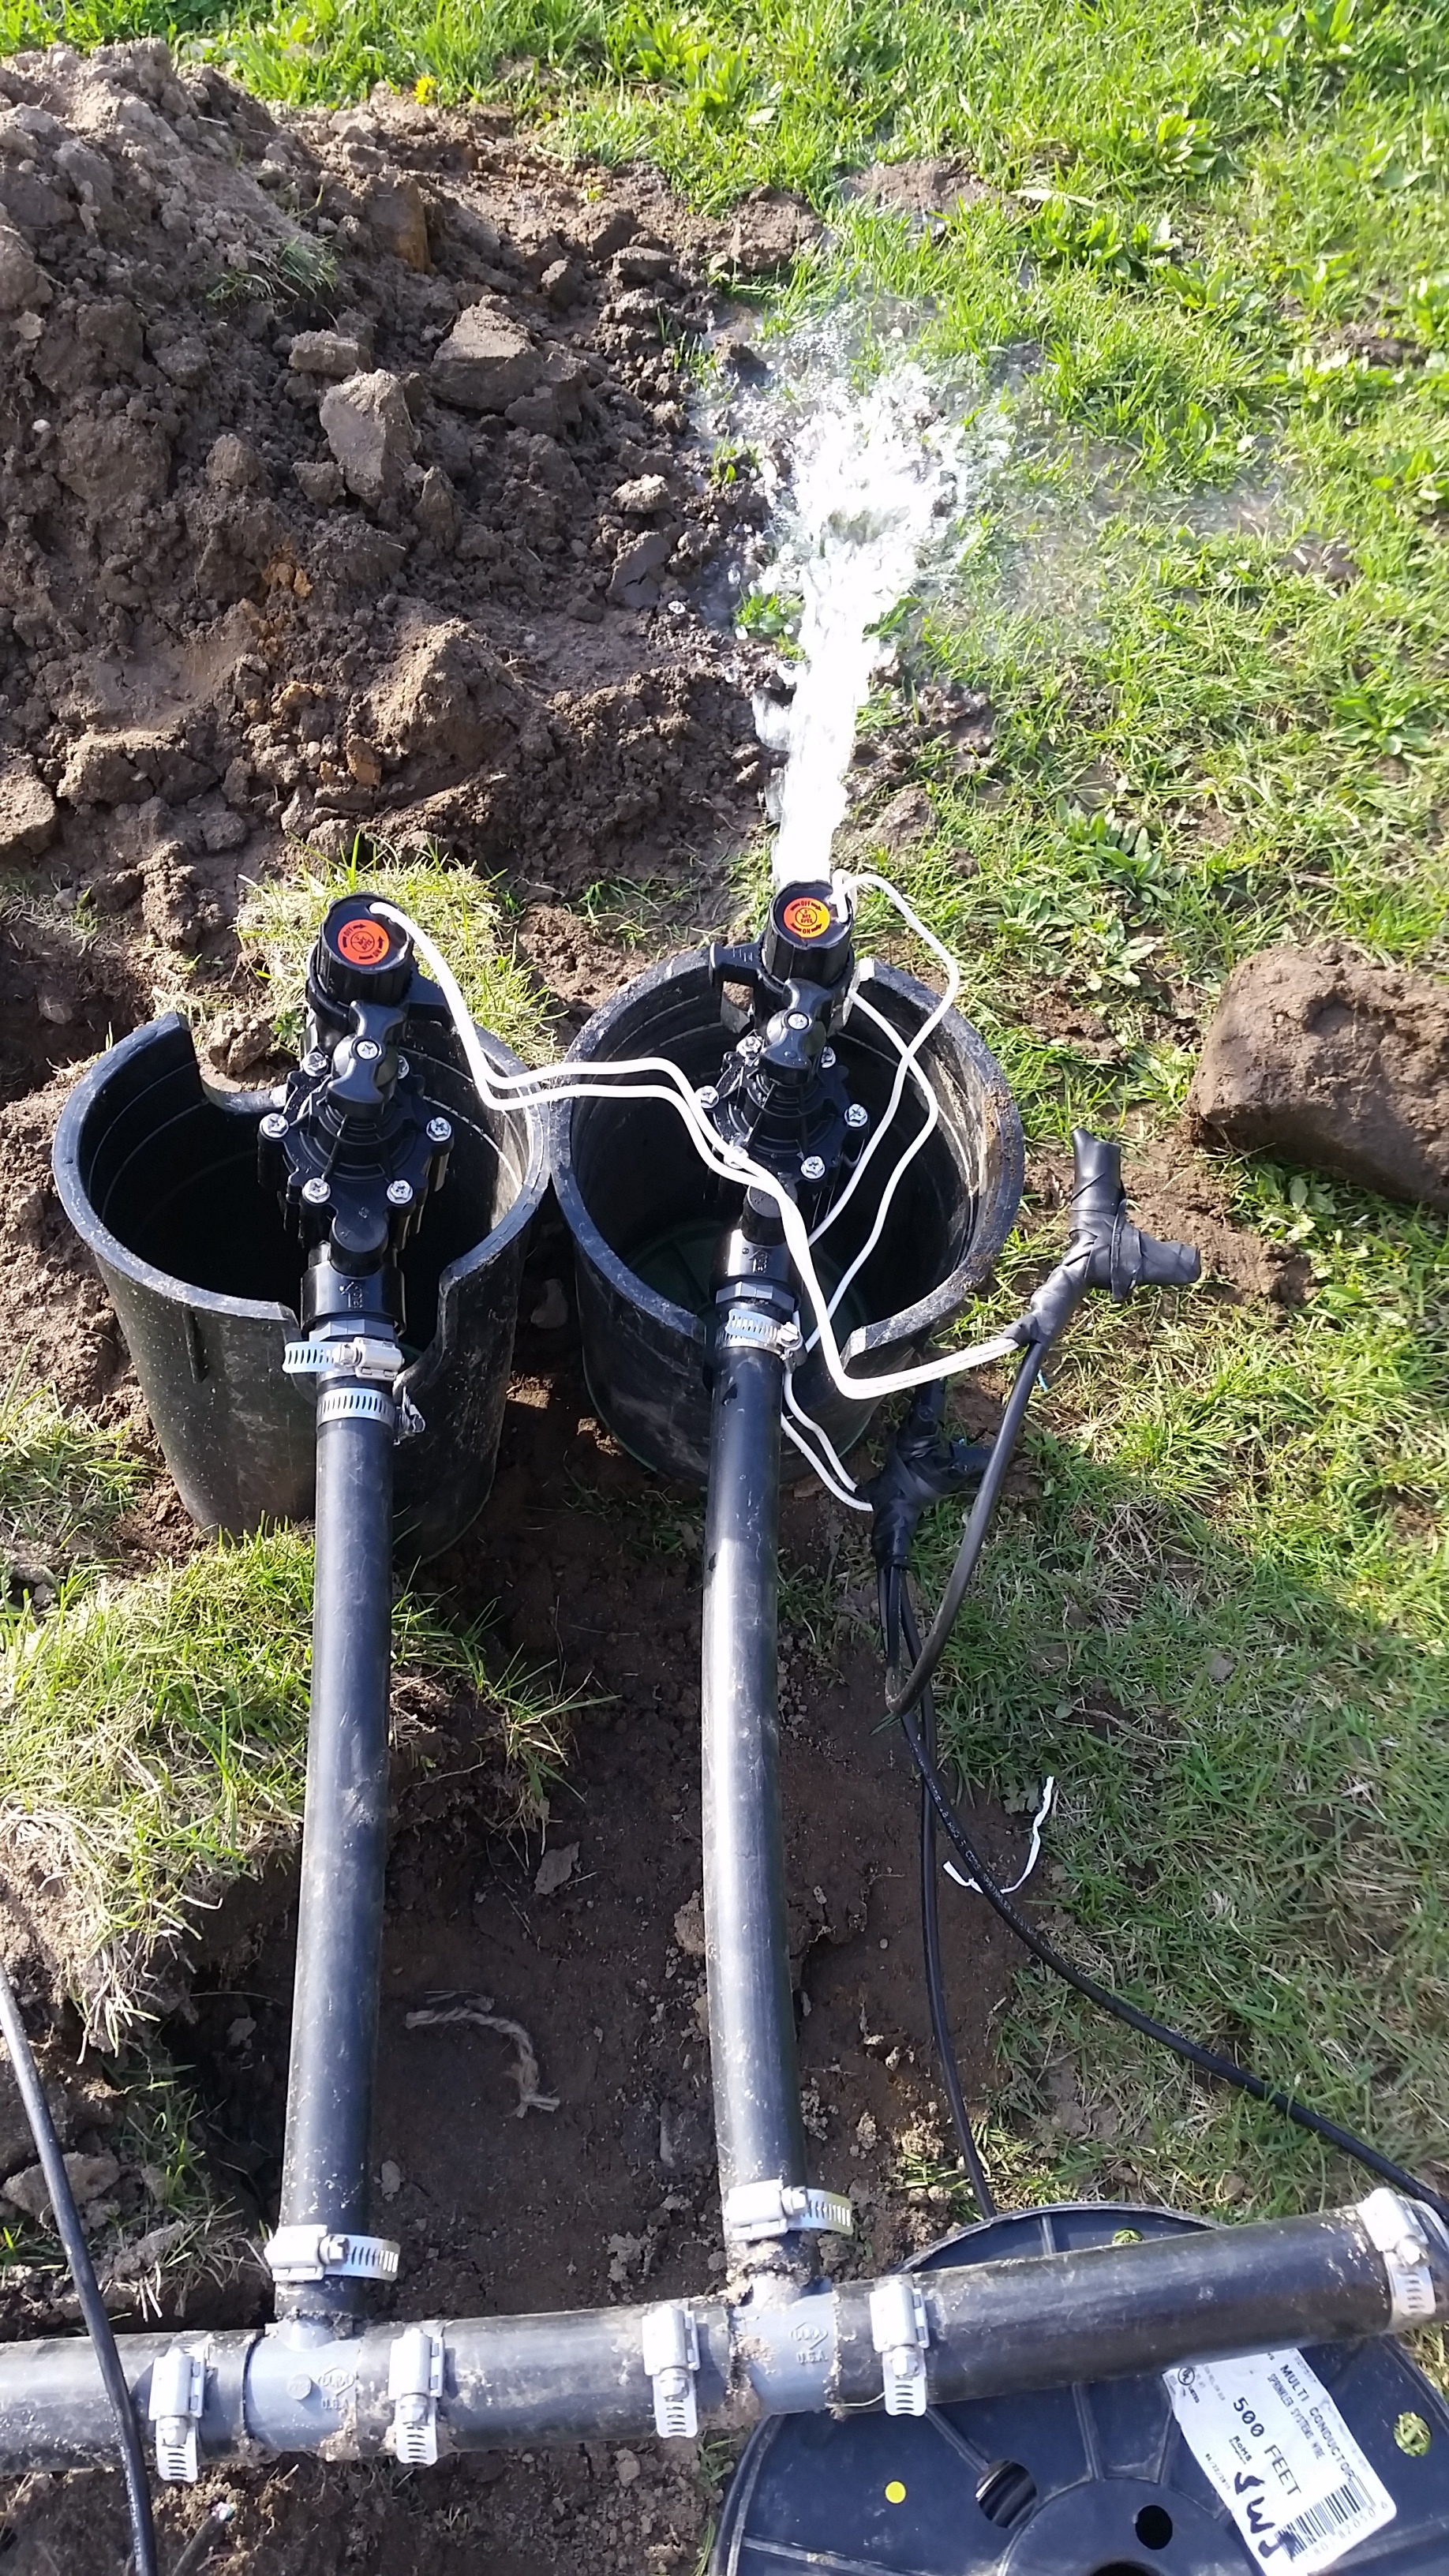
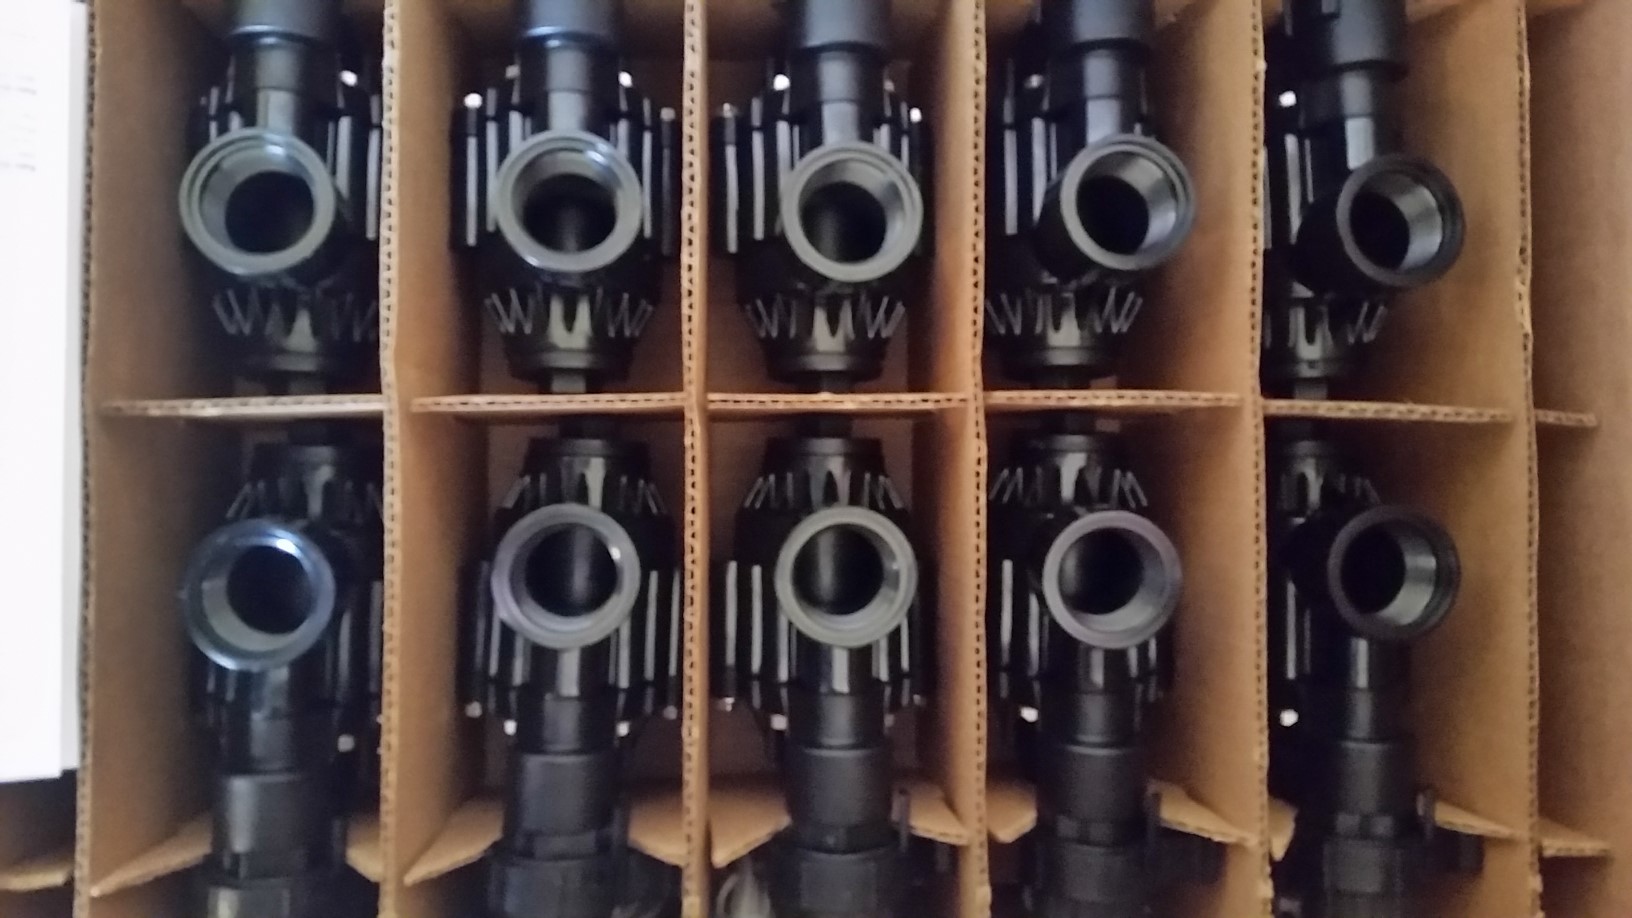
Not pictured here: the hours and hours I spent tearing my hair out trying to figure out all of the right plumbing fittings to get everything working. Since I'm planning to hook everything up to drip irrigation, the installation will look slightly different than a conventional sprinkler system that you might see on a golf course. As a result it took some figuring to get everything sorted out. I'll post details of the solution I came up with in a subsequent post, once the parts are actually being assembled.
Stay tuned for many more updates on this project as we move on to installation and testing!