Irrigation Part 2: Installation

We have water! Other than the torrential rain that's been falling, I mean. The irrigation system is now mostly set up, having taken a slightly lower priority since lack of water pretty much the opposite of our current situation. If you missed the first post, check it out here for the background. The progress this time around: water lines, pump, wiring and valves are all installed and working.

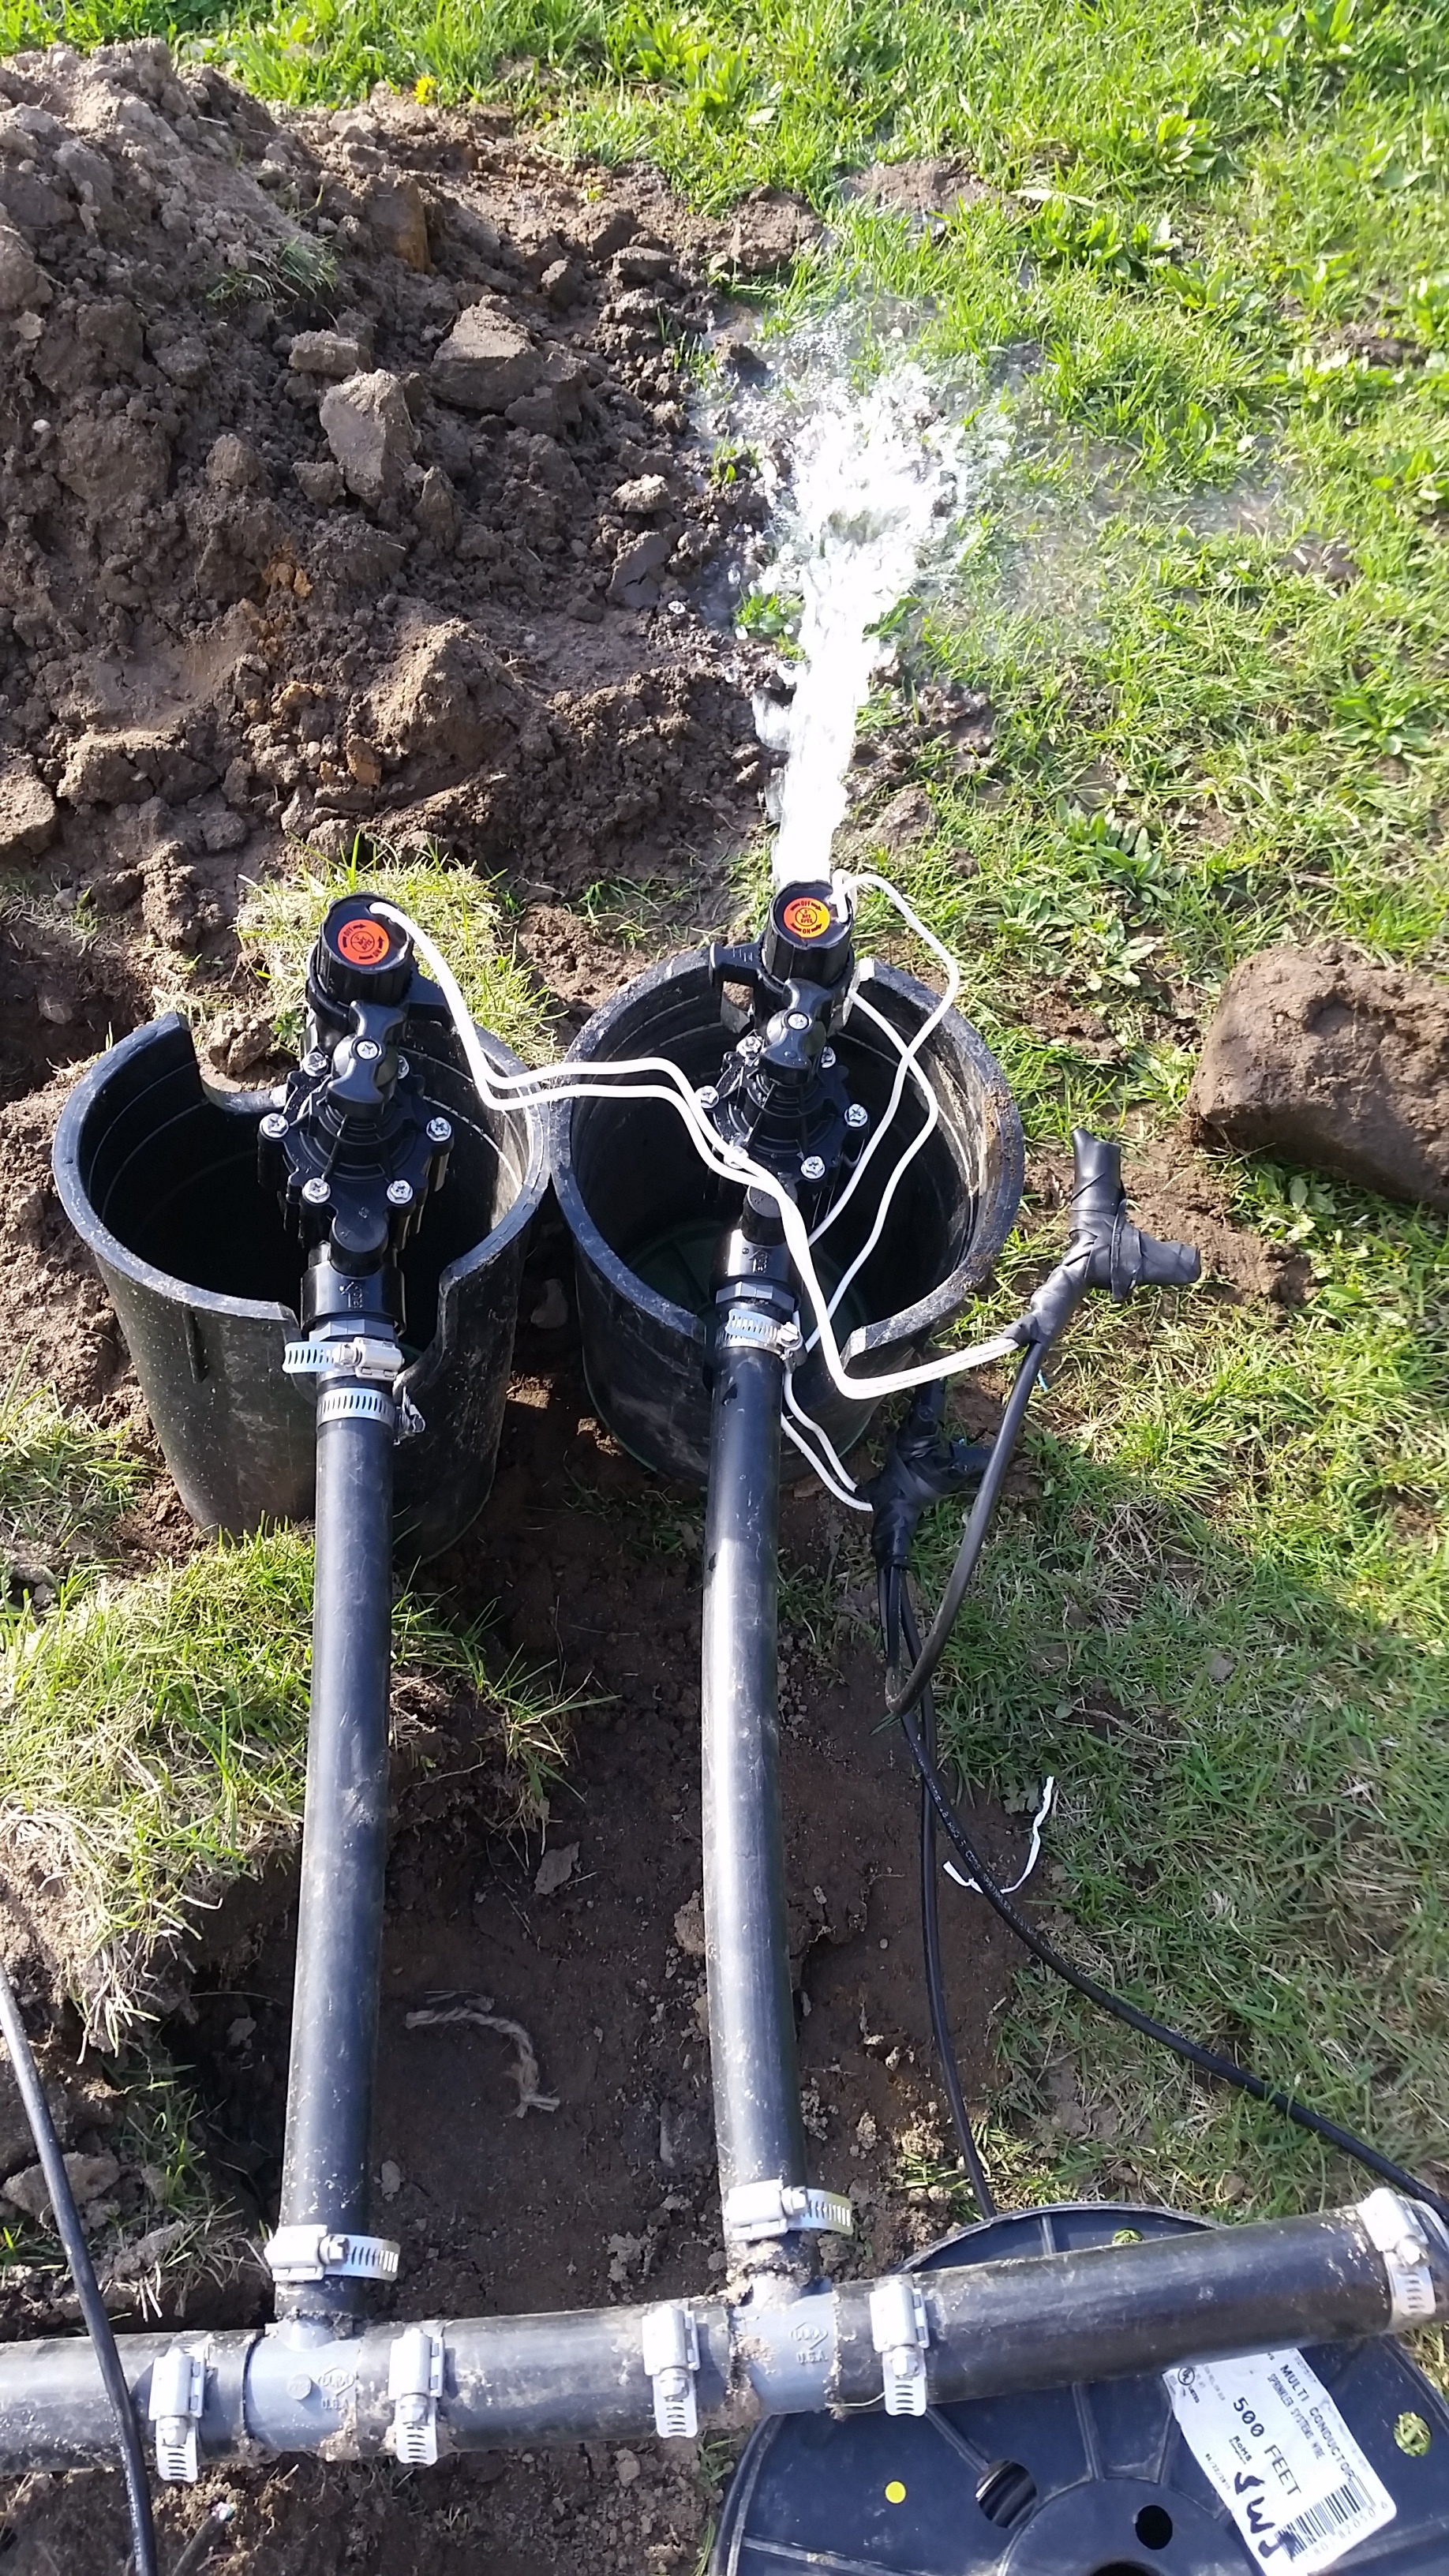
Here are a couple of electronic valves in the back field. This area is divided into two zones so that the pump only has to run half the field at a time. The valve on the right has just been triggered manually: success! The pump works, the flow and pressure are right on spec with what I calculated, and the wiring is all done.

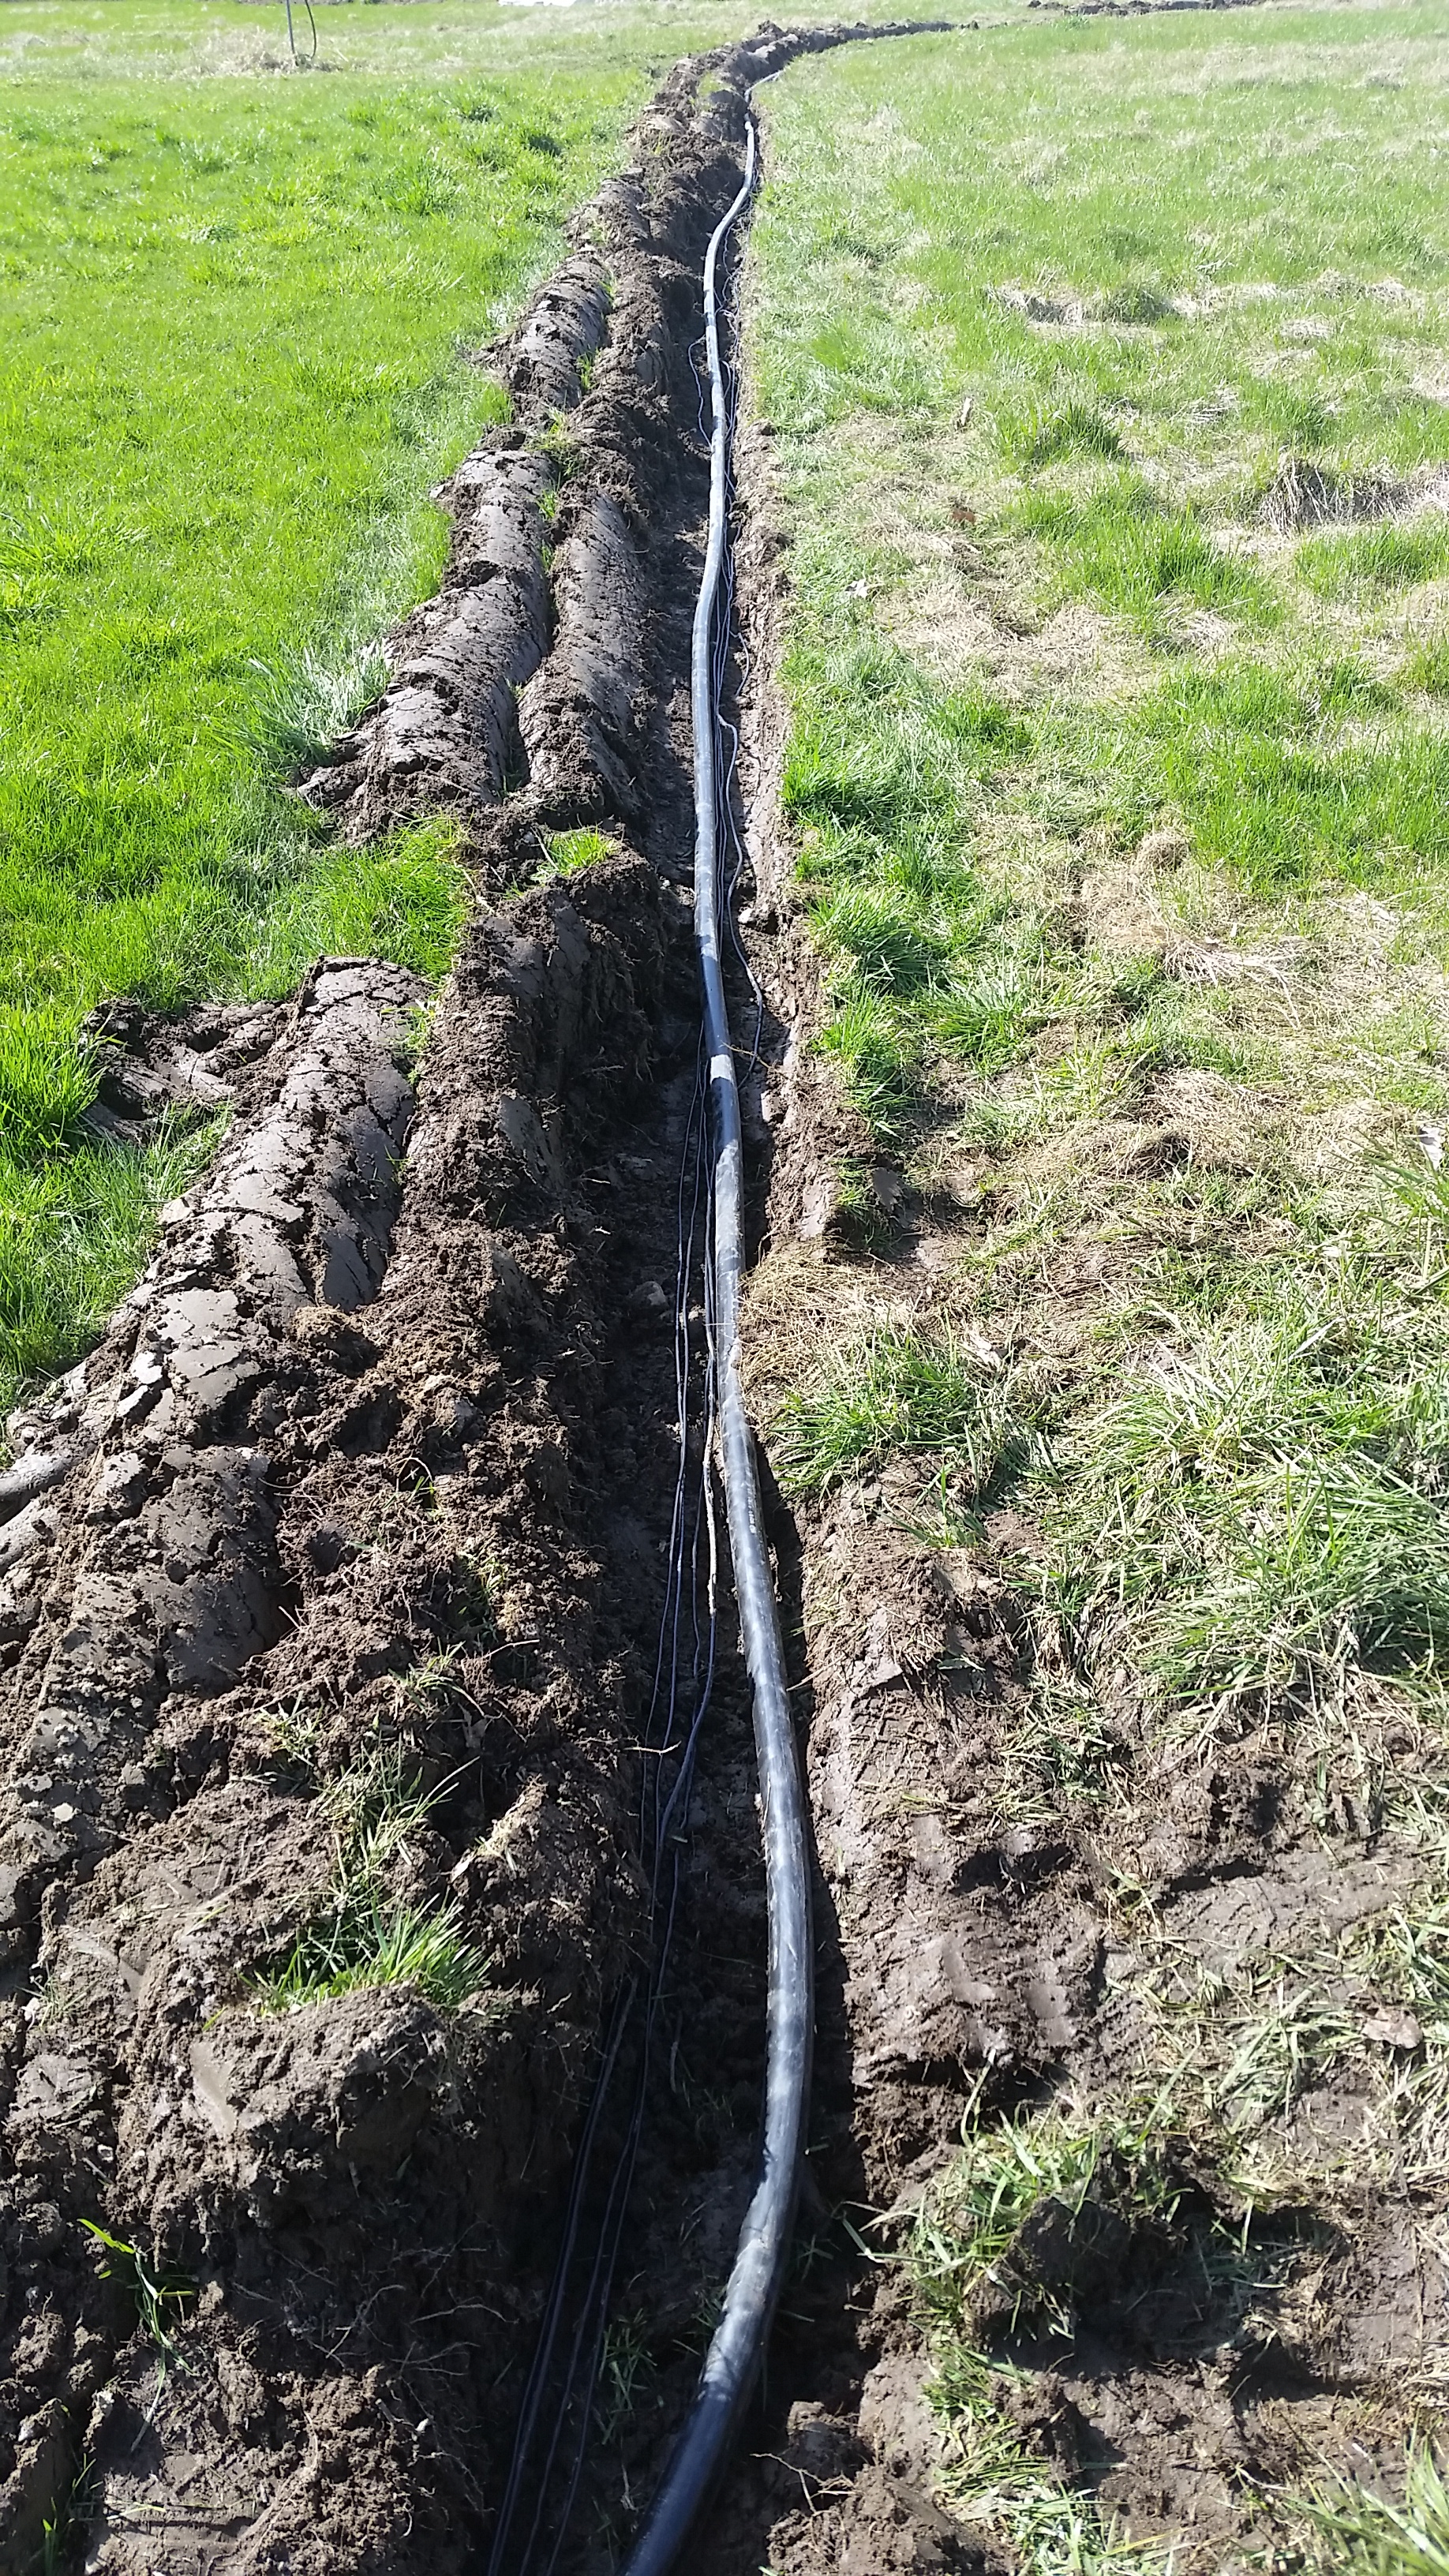
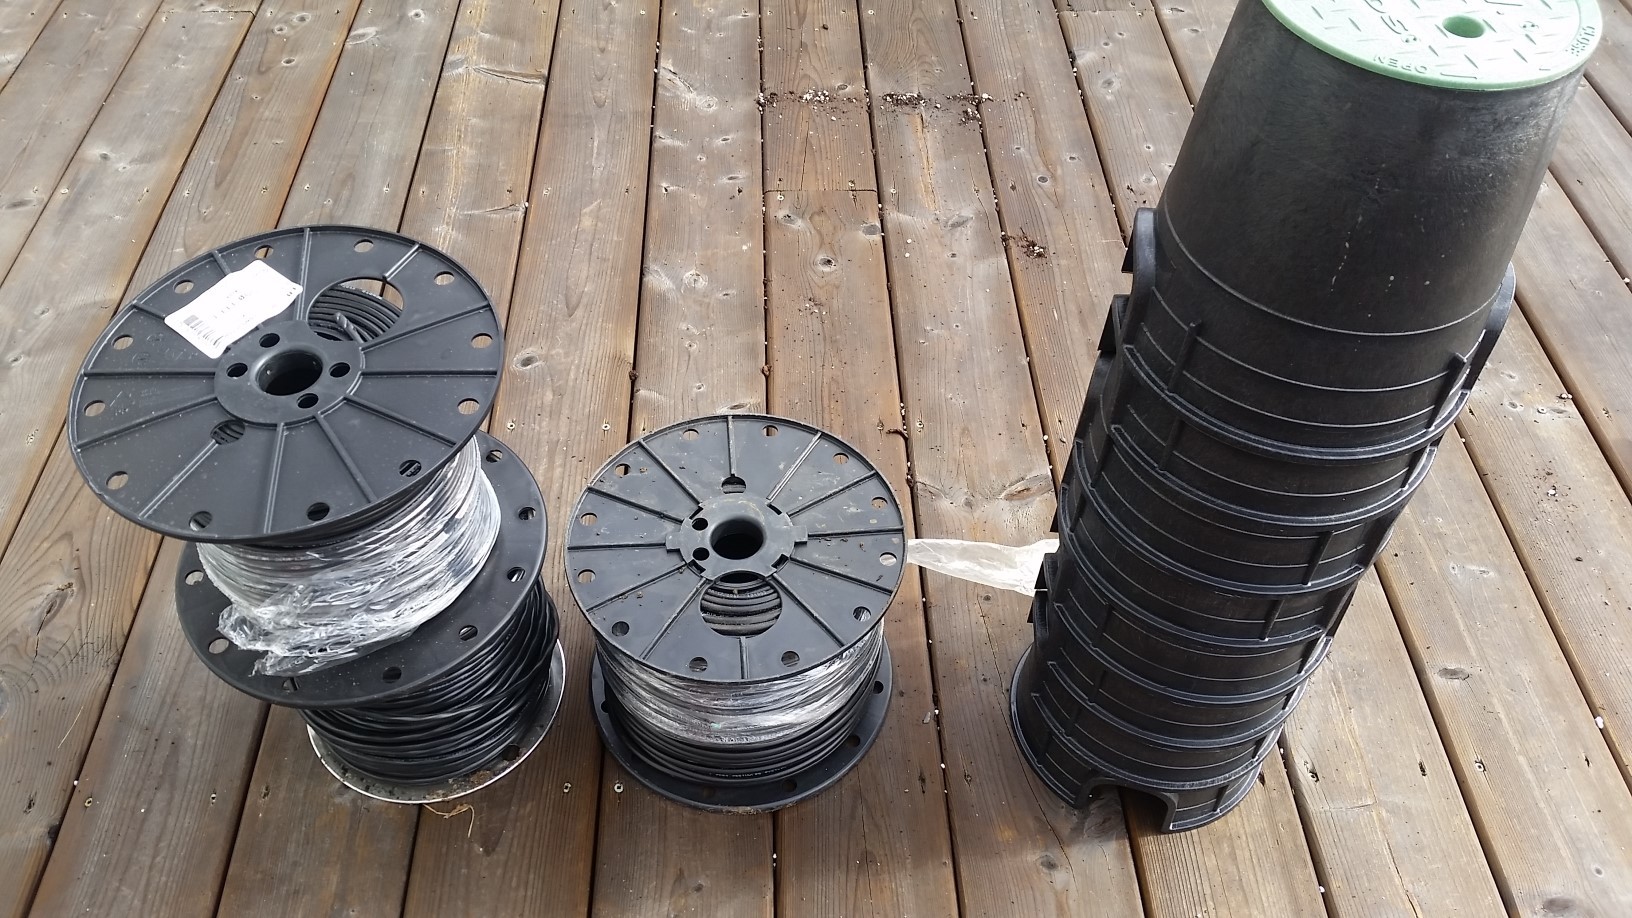
I ended up doing all of the trenching with my two-bottom plow rather than a trencher. Since a plow works by flipping a slice of soil into a furrow left by a previous pass, it's possible to make just one pass and leave a trench behind. If a plow has more than one bottom, it flips more than one slice at a time - each slice moving one width to the right and still leaving one open furrow. So the only downside with my plan was that since I couldn't take the second plow bottom off I ended up with a bit of a mess beside the trench, but I ended up getting it all closed up in the end. It feels safer to be up on a tractor instead of on the ground with a walk behind trencher and it saved me a trip (and some rental cash). Here you can see the main line and a bunch of direct burial wiring next to it.

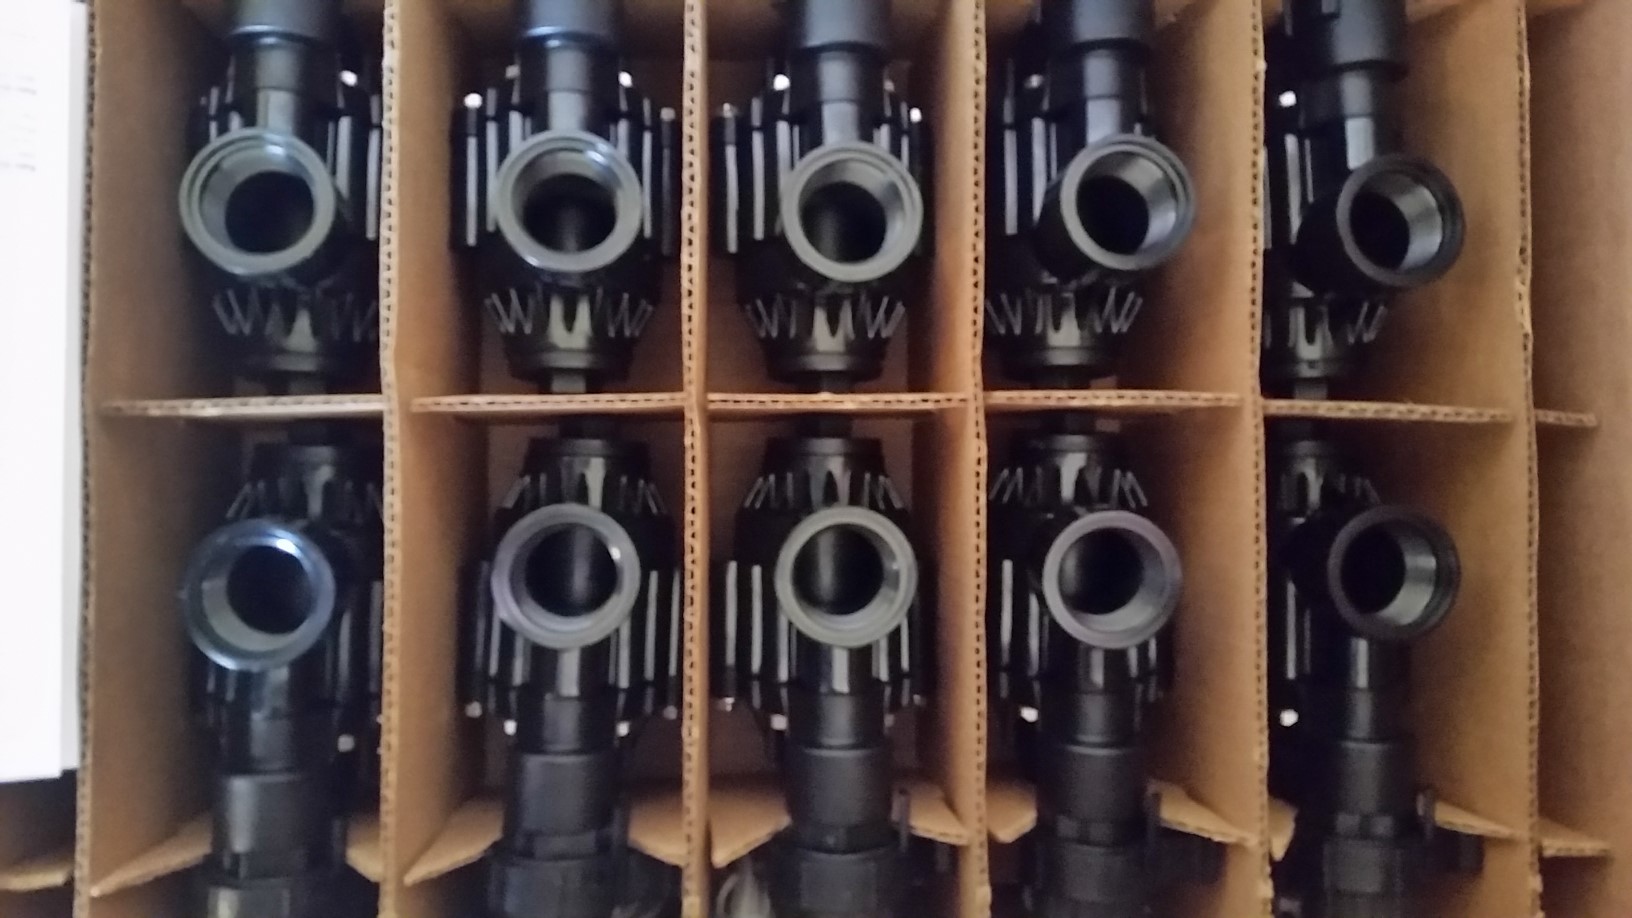
The main line is 1 1/4 inches, nice and big to reduce pressure losses in the long runs. Where it branches to individual valves, the short runs are 1 inch, which also matches the size of fitting that the valve uses. On the short runs to the boxes I had to finish up the trench with a shovel, but I managed to get all of the long runs done with the tractor.

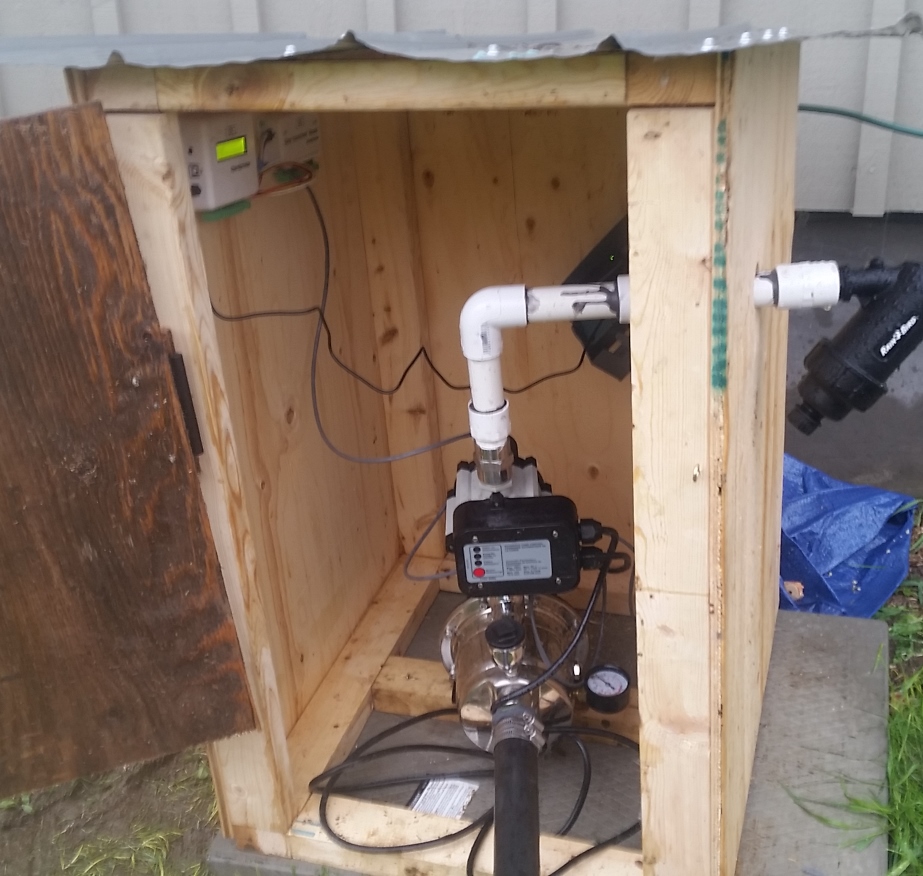
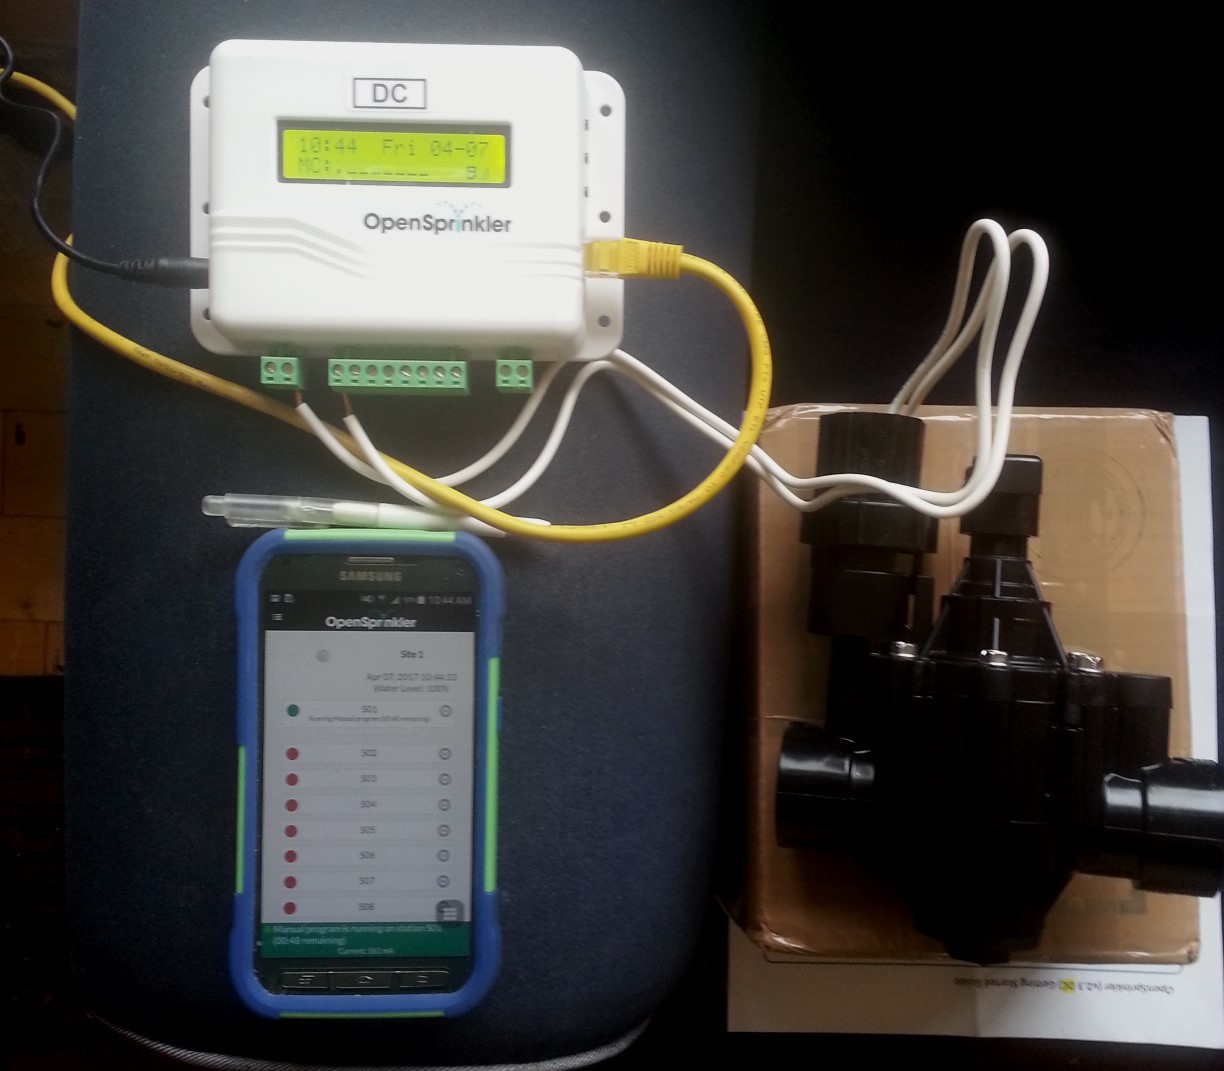
Here's the pump house that holds the pump and the controller. I built it out of scraps I had lying around so it's not the prettiest but we've seen some real weather already and it seems to do the job. 

At this point I've also attached all of the valve wiring (not pictured here). To help protect the wiring as is comes out of the trench, I've run the last 25 feet or so of all the wiring through some extra 1 inch water pipe, which runs directly into the pump house.

All that's left now is to assemble the risers (plumbing from the valve to fittings on the surface) and program the controller. I've held off on these last couple of steps because of the ridiculous amount of rain we've had (the last thing any of my crops need is more water at this point), but I'm satisfied that the system is working properly and it's ready to go when and if things ever start to dry out.

Irrigation Part 1: Getting Started

Thanks in part to a grant from our local chapter of NFU Ontario and Slow Food PEC, we're moving ahead with a new and exciting project this year: an automated irrigation system.

I love finding ways to use modest applications of relatively inexpensive technology to solve big problems on the farm. It satisfies my need to tinker, improves the farm, and demonstrates that appropriate technology can help keep small farms viable without adopting industrial-style practices. This new project does all of the above and that's why I'm so excited about it.

The basic plan is to install some permanent water lines in trenches to each of the fields and the two greenhouses. We'll bury sprinkler wiring along with these main lines and hook it up to electronic valves at various points around the farm. This will allow us to schedule on and off times from a central controller. We're going to be able to irrigate a lot more reliably and regularly with this setup, and the automation should save quite a lot of labour and save water by using it efficiently.

We've just finished gathering all of the main components for this project, which (as usual) was a bigger job than it might first seem.

tubing.jpg

Here's the truck loaded down with many hundreds of feet of poly tubing.

A bunch of sprinkler wire and valve boxes.

A box of electronic valves (we went with Rainbird PGA valves which seem to fit our use case without breaking the bank).

controller test.jpg

And most exciting, here's a bench test (well, couch test) of the controller, hooked up to one of the valves. The controller (OpenSprinkler) is an open source, network connected sprinkler controller. Here I've got it hooked up to our network and plugged into one of the valves (on the right). I haven't set up any programs yet, but on the bottom left you can see I've used my phone (connected over wifi) to manually turn the switch on. I'm really looking forward to using this feature. Having remote access to the controller on my phone will let me walk around in the field and monitor, reprogram or override the system if I need. 

The network connection also lets the controller make weather adjustments (i.e. to run longer if it's hot, less if the humidity is high, and not at all if it's raining), which I got set up fairly easily by following these articles about Weather Underground integration from the OpenSprinkler knowledge base.

Not pictured here: the hours and hours I spent tearing my hair out trying to figure out all of the right plumbing fittings to get everything working. Since I'm planning to hook everything up to drip irrigation, the installation will look slightly different than a conventional sprinkler system that you might see on a golf course. As a result it took some figuring to get everything sorted out. I'll post details of the solution I came up with in a subsequent post, once the parts are actually being assembled.

Stay tuned for many more updates on this project as we move on to installation and testing!

Low tech irrigation

While I'm lucky to have inherited a number of frost-proof hydrants to run water from around the farm, the closest one is still about 400' from the main garden. 

The simplest solution? 400' of large diameter garden hose.


Wheeling out the hose

This year I mowed a strip before I rolled it out so the hose is easier to find and I'm not always worried about running over it with a tractor or other equipment. I'm sure I'll have to do it again in a few weeks.

Mowed strip

The biggest downside of using a small hose for a long run like this is loss of pressure. Fortunately I'm not using high pressure sprinklers which waste water and can create disease by wetting the foliage, so the simplest solution works out in the end.