Recipe: Maple Carrots
Of the many ways we use carrots in our house this recipe is hands down the kids' favorite. It seems I can never make a large enough amount and Eric and I always end up giving the kids seconds from our own plates. Rich with butter and carroty flavour, the tiny drizzle of maple syrup at the end of cooking helps to caramelize and enhance the veggie's natural sweetness. You can swap out the butter for a vegetable oil if you prefer, but the taste will suffer with a lighter fat. Saturated fat in moderation is not to be feared, it is a high quality source of fat soluble vitamins and when eaten with veggies helps to make available nutrients which might otherwise be lost. In other words: we eat butter (and coconut oil, a plant-derived saturated fat) because it's tasty AND healthy!
Ingredients:
- 3-4 large carrots (or 5-7 medium sized carrots)
- 1-2 cups water
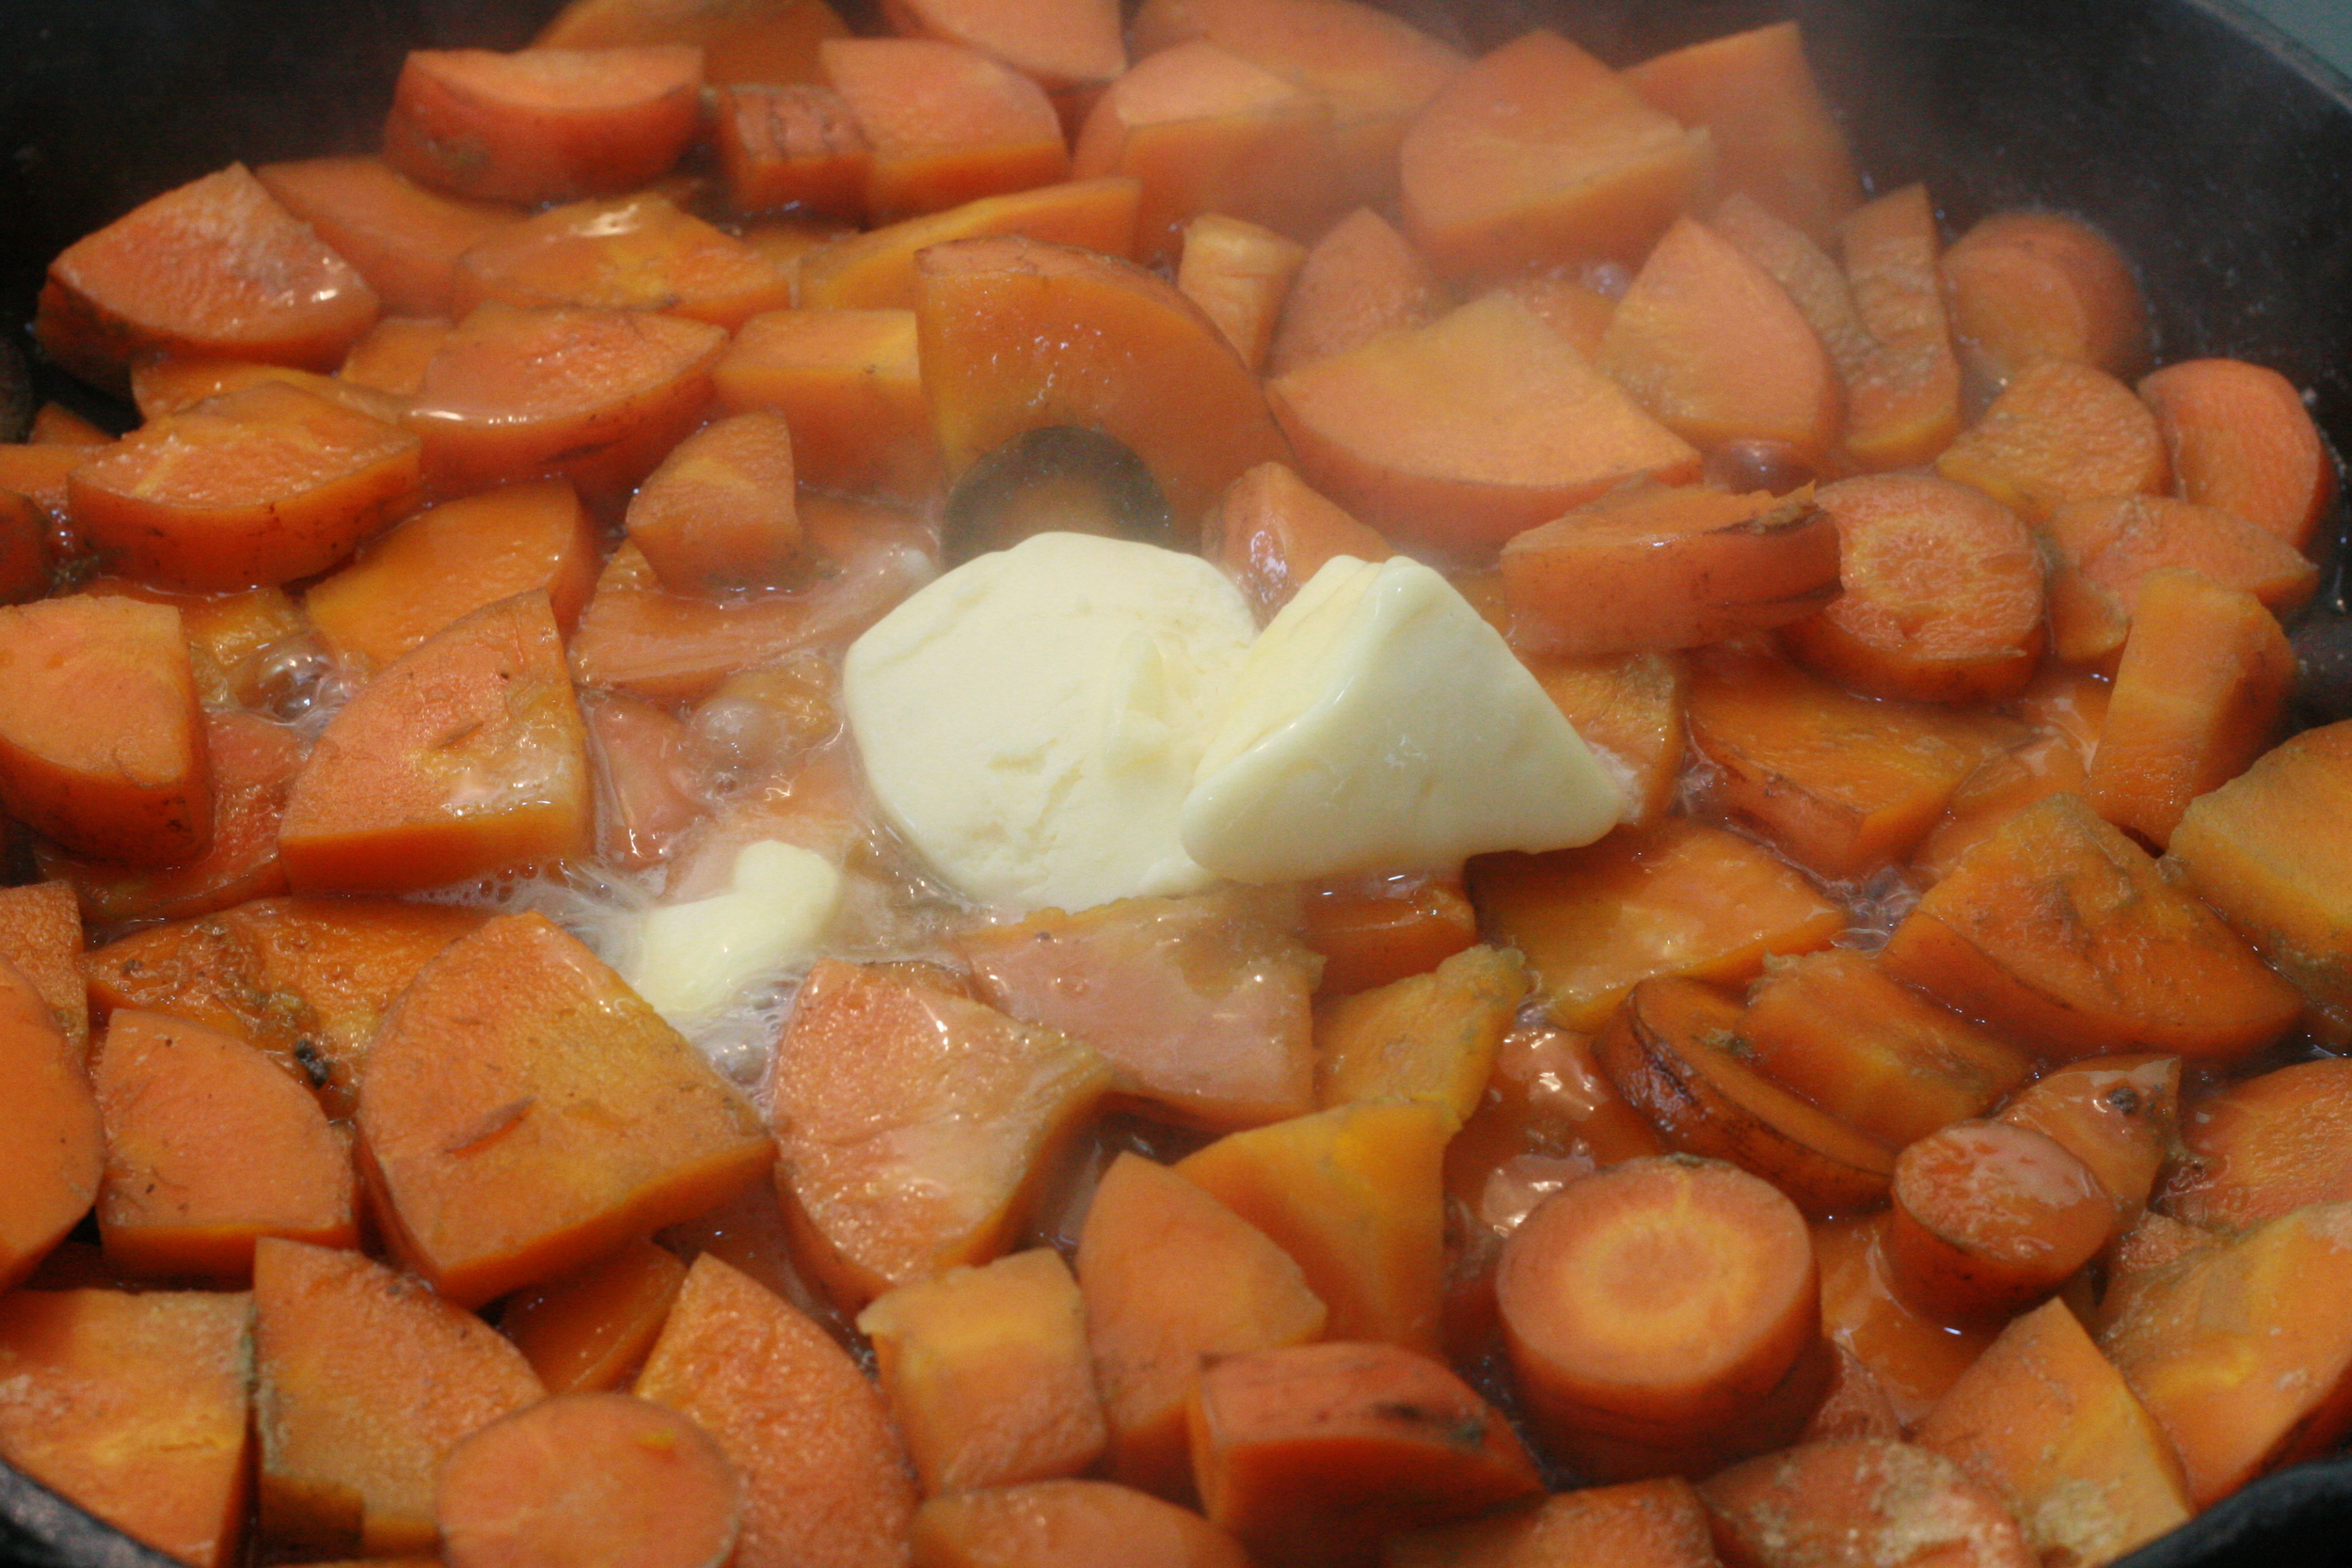
- 2 tbsp butter
- salt to taste
- 1 tsp maple syrup
Steps:
1. Chop carrots into coin sized slices, about 1/4-1/2 inch thick. Carrots can be peeled or unpeeled, depending on your preference. The skins will soften considerably with cooking so as long as they're sufficiently washed you can skip the peeling step and add the extra fiber from the carrot skins to your meal.
2. Place carrots, water and salt in a pan and heat on high. The water should cover most but not all of the carrots.
3. Boil about 10-15 minutes, until carrots are softened and only a little bit of water remains.
4. Lower heat to medium and add butter. Saute, stirring frequently, for about 10-15 minutes until carrots are beginning to brown.
5. Add maple syrup and stir quickly to coat the carrots before taking them off the heat.
6. Serve alongside a hearty fall dish and enjoy! Although, if you're Eric and me, you'll likely get only a bite or two before surrendering the rest to the kids.